All Forms Pages
I realized this weekend that I did not go over how the All Forms pages would work.
When the Office Page Templates were being filled out, many of you opted for a "View All Forms" button. For these, I created a media category for that office and linked the media category to the corresponding office. This means that only documents that were uploaded to the website would appear in that Media Category listing page. (I will add information on linking to a media category in a follow-up post.)
If your office has a mixture of uploaded media, online fillable forms, and/or off-site links, then you will actually need a page to house all of your forms.
For example, Community (under Parish Life) has 2 forms and 2 online fillable forms that will need to be added to their All Forms page.
Below are instructions on how I created a page for their forms. These instructions will also be included in the Editing document on Google Drive.
Here is how I set an All Forms PAGE:
- Once logged in, add a new page.
- Title the page _____ Forms

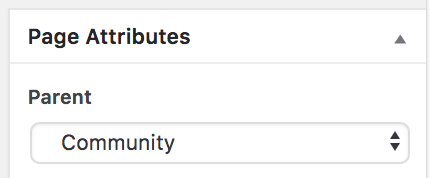
- On the right side, under Page Attributes, select the corresponding office as the Parent. In this case, I set the parent as Community.
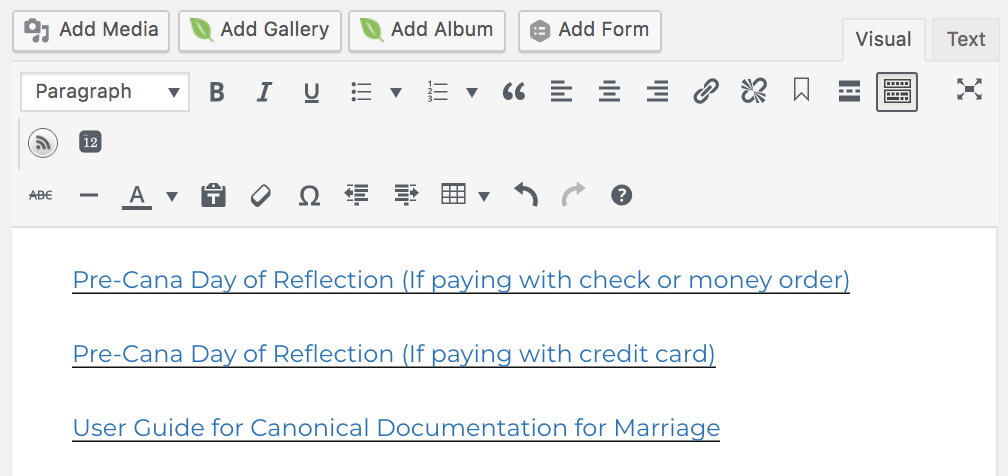
- In the visual editor box, add your forms by either linking text or by inserting them from the media library.
- Adding by Linking Text
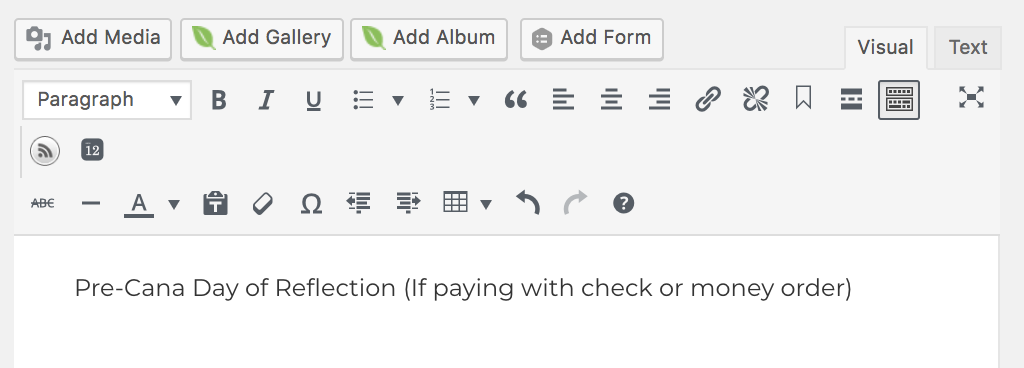
- Type your link title in the visual editor box.
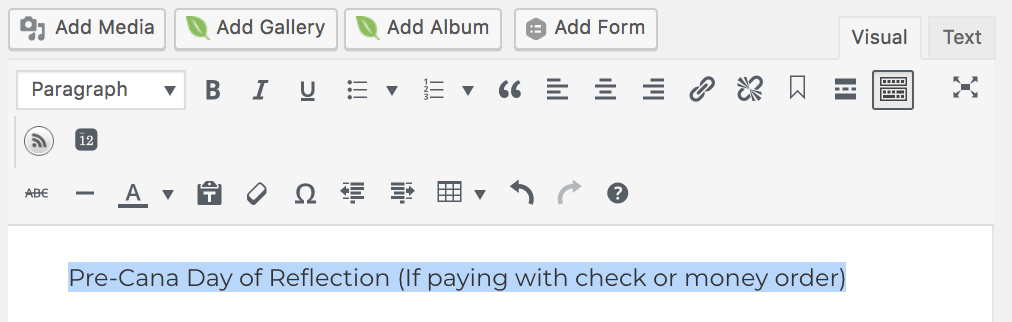
- Highlight the link title.
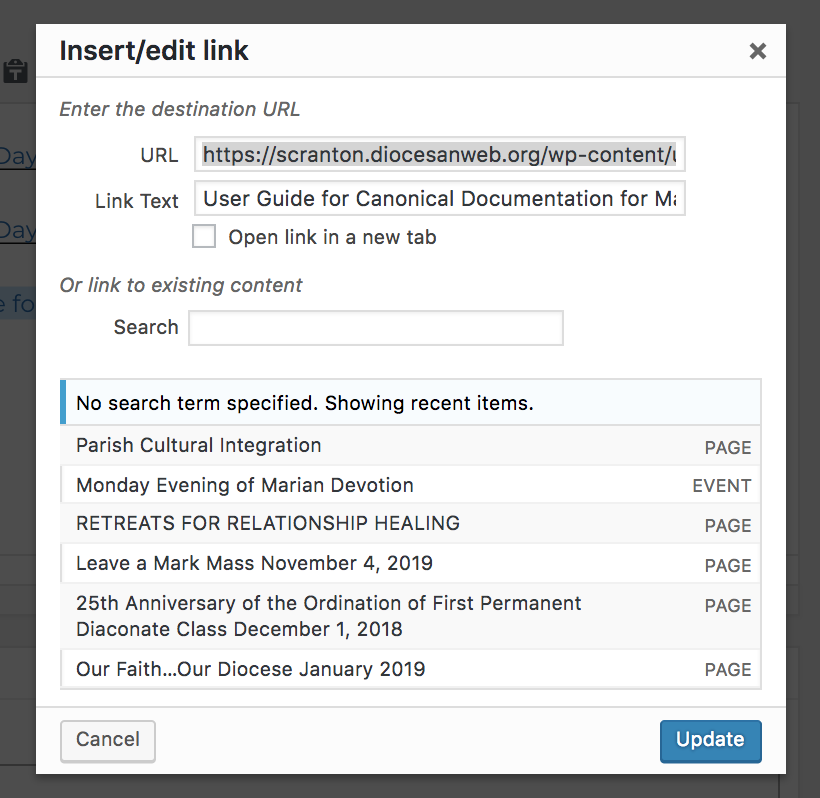
- Click the link icon in your editing tools and the link box will appear.
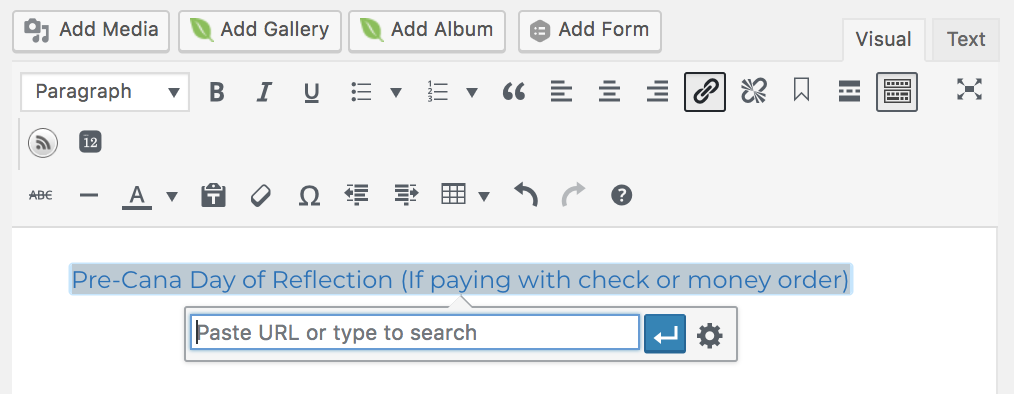
- If you are linking to a site within your website, simply begin typing the page's title and then click on it. The corresponding URL will be inserted.
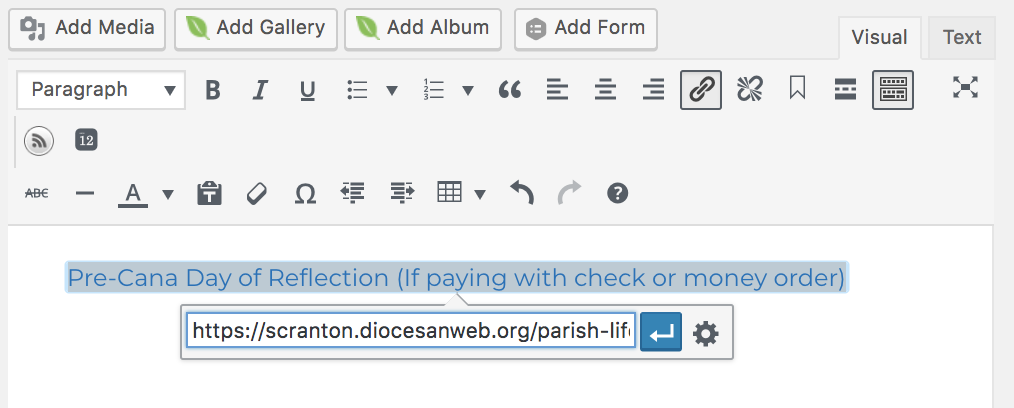
If you are linking off-site, simply paste in the URL.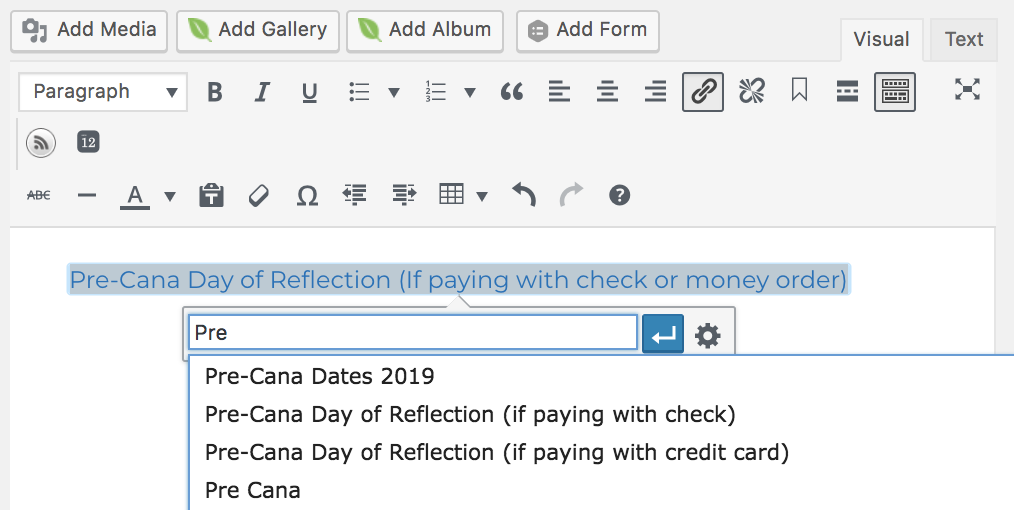
- Once the URL is in the box, click the blue arrow to apply.
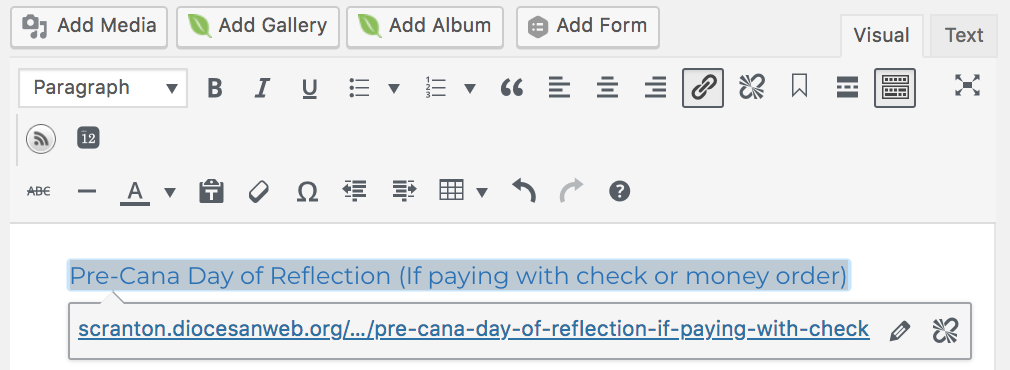
- The link will be added. To edit this link, simply click on the hyperlinked text, and click the edit pencil.
- Type your link title in the visual editor box.
- Adding from the Media Library
- Click Add Media above your visual editor box.
- Upload the document you wish to link to OR search to find the document you wish to link to.
NOTE: You may also filter by Media Type, such as PDFs, images, etc.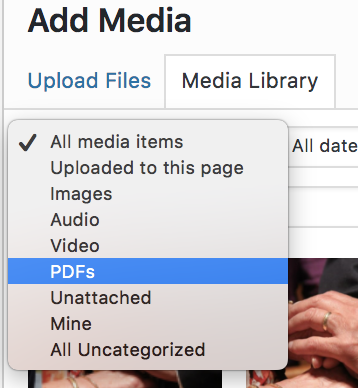
- Once you have found the correct document, select it and click the blue Insert into page button in the bottom right corner.

- The link will be automatically inserted with link text that corresponds to the document title in the media library.
- If you need to edit the title, click on the link and click the edit pencil and then the settings cog.


- Update the Link Text to your desired title then click update.
- Click Add Media above your visual editor box.
- Adding by Linking Text
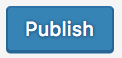
- Once you have added all of your form links, click Publish (or Update) to save your changes.

Peace, Catherine